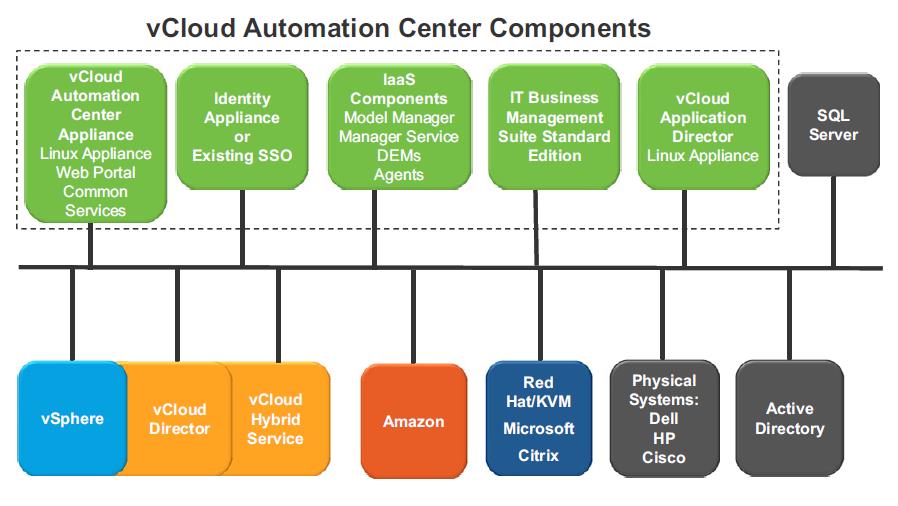
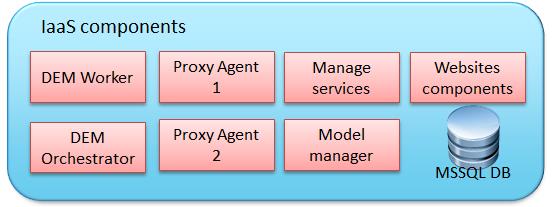
Infrastructure as a Service (Iaas) enables the rapid modeling and provisioning of servers and desktops across virtual and physical,private and public, or hybrid cloud infrastructures. Iaas Components of vCAC includes multiple component:
- IaaS Website
- Distributed Execution Managers(DEM)
- Agents
- Model Manager
- Manager Service
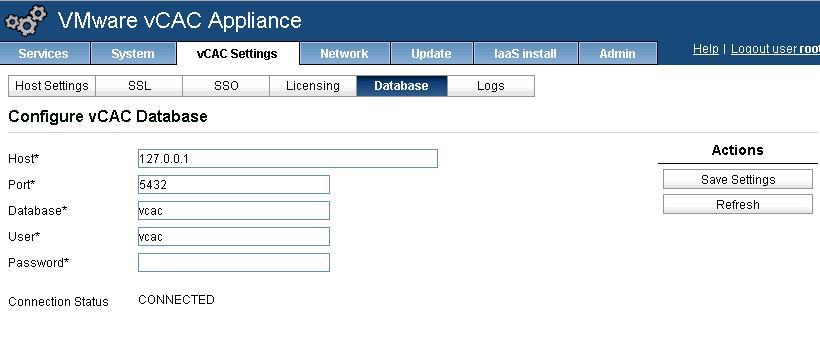
- Database
IaaS Website : provides the infrastructure administration and service authoring capabilities to the vCloud Automation Center console. The Website component communicates with the Model Manager, which provides it with updates from the Distributed Execution Manager (DEM), proxy agents and database.
Model Manager : The Model Manager communicates and integrates with external systems and databases. Models included in the Model Manager implement business logic that is executed by a DEM. The ModelManager provides services and utilities for persisting, versioning,securing, and distributing model elements. The Model Manager communicates with a Microsoft SQL Server database, the DEMs, and the console Web site.
Distributed Execution Managers :DEM executes the business logic of custom models, interacting with the IaaS database andexternal databases.
Proxy agents – virtualization, integration and WMI agents that communicate with infrastructure resources
DEM instances can be deployed in one of two forms:
DEM Orchestrator
- Preprocesses workflows, schedules workflows, and monitors DEM Worker instances.
- Only one DEM Orchestrator is active at a given time. A standby should be deployed for redundancy.
DEM Worker
- Communicates with the external systems
- Responsible for executing workflows
Manager Service : The Manager Service coordinates communication between agents,the IaaS database, Active Directory (or LDAP), and SMTP. The Manager Service communicates with the console Web site through the Model Manager.
Agents: Agents, like DEMs, are used to integrate vCloud Automation Center with external systems:
- Virtualization proxy agents are used to collect data from and provision virtual machines on virtualization hosts, for example, a Hyper-V agent,a vSphere agent, or a Xen agent.
- Integration agents provide vCloud Automation Center integration with virtual desktop systems, for example, an EPI Windows PowerShell agent, or a VDI Windows PowerShell agent.
- Windows Management Instrumentation agents enable data collection from Windows machines managed by vCloud Automation Center.
Pre-Requisite for vCAC IaaS Component :
Lets’ take detailed step by step procedure to install vCAC Iaas Components. Below are mandatory requirement before proceed with the vCAC Iaas componenet.
1. You need Windows Server to install vCAC Iaas components. (Windows 2008 R2 Sp1 or later or Windows 2012)
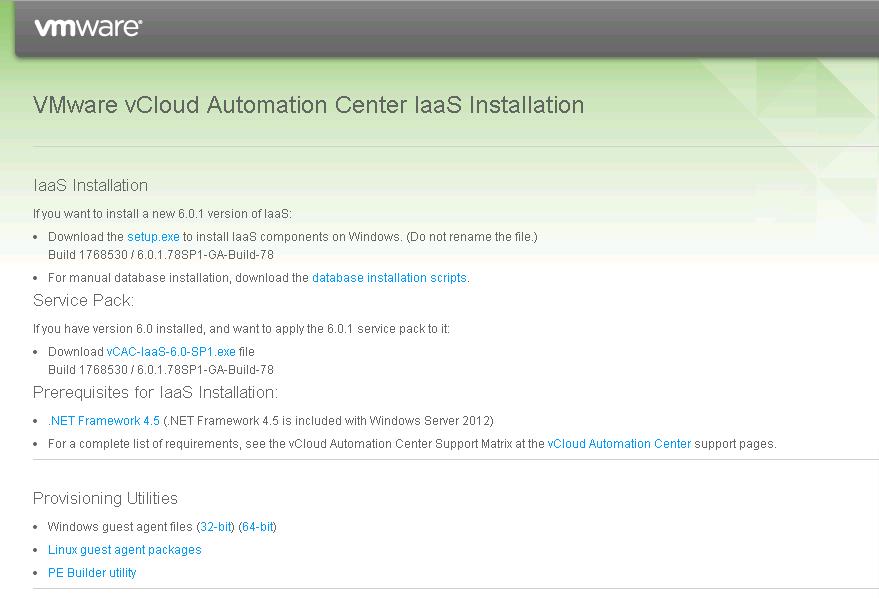
2..NET framework 4.5 . you can install .NET frmaework 4.5 for windows 2008 R2 using the below URL
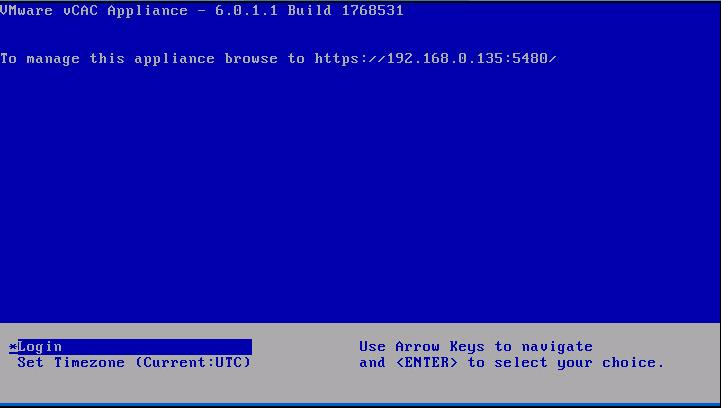
https://vcac-va-hostname.domain.name:5480/installer/ and download the .NET 4.5 framework installer. .NET framework 4.5 is included as part of windows 2012. ![vCAC-Iaas Installation -1]() Apart from .NET framework 4.5, There are around 38 total pre-reqs involved in configuring the IAAS server. The prerequisites mainly consist of:
Apart from .NET framework 4.5, There are around 38 total pre-reqs involved in configuring the IAAS server. The prerequisites mainly consist of:
- Server Roles
- Server Features
- Firewall Rules
- MSDTC Settings
- Batch Logon Rights
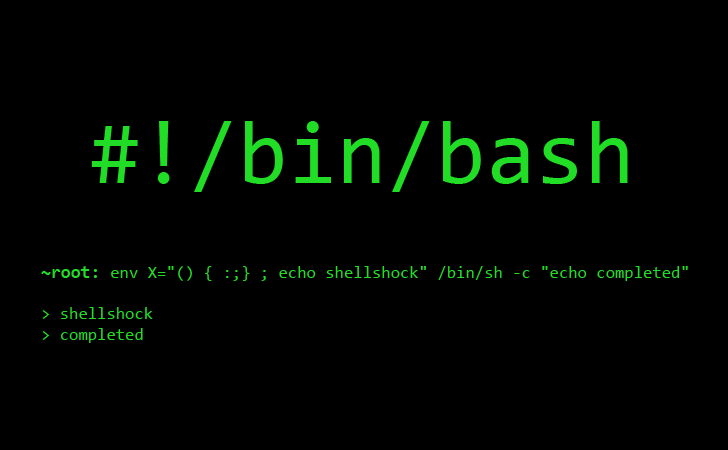
Ohh I am sure !!!, You are shocked now. Don’t worry. You will have vCAC Prerequisite PowerShell script to configure the pre-requisites for vCAC IaaS installation.
Download vCAC6-PreReq-Automation script
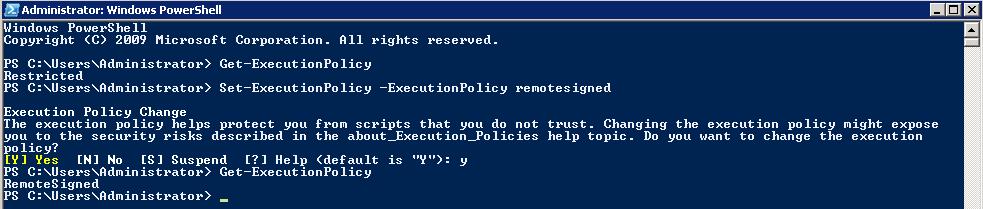
Open the PowerShell command prompt and before you execute the pre-requisites powershell script. Change you Execution Poliy using the below command
Set-ExecutionPolicy -ExecutionPolicy remotesigned![vCAC-Iaas Installation -2]() Execute the vCAC6-PreReq-Automation.ps1 script using below command
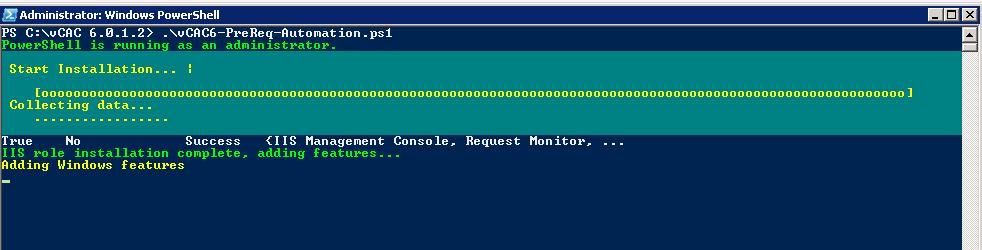
Execute the vCAC6-PreReq-Automation.ps1 script using below command
.\vCAC6-PreReq-Automation.ps1
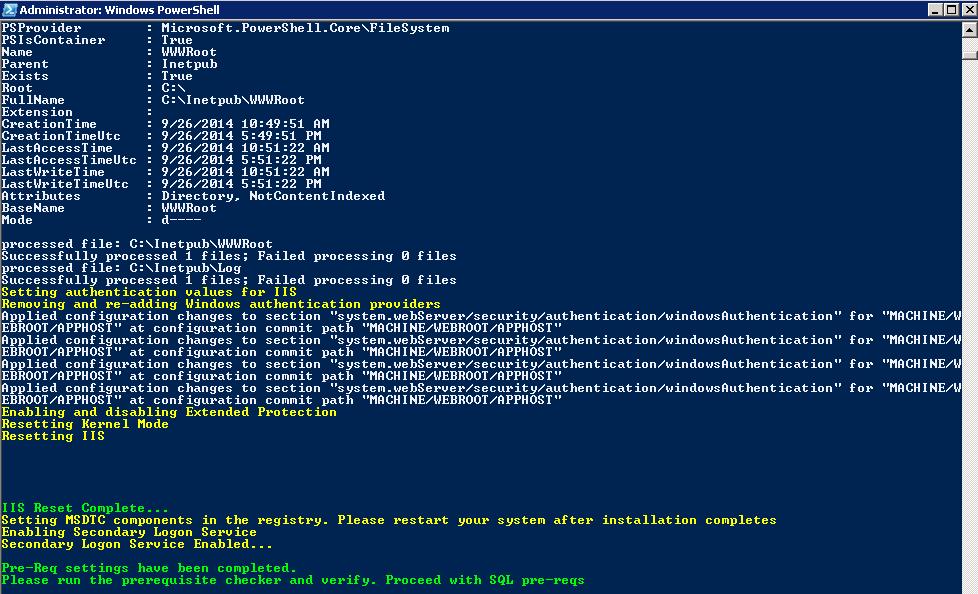
![vCAC-Iaas Installation -3]()
![vCAC-Iaas Installation -4]()
![vCAC-Iaas Installation -5]()
Once vCAC Pre-Req settings have been completed. You are ready for the installation of vCAC Iaas installation. You can download the Iaas “setup.exe” file from the below URL
https://vcac-va-hostname.domain.name:5480/installer/
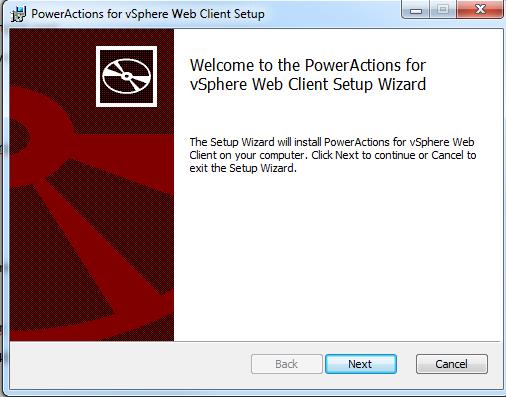
Right click on the setup file and “Run As Administrator” and click on Next to start the installation.
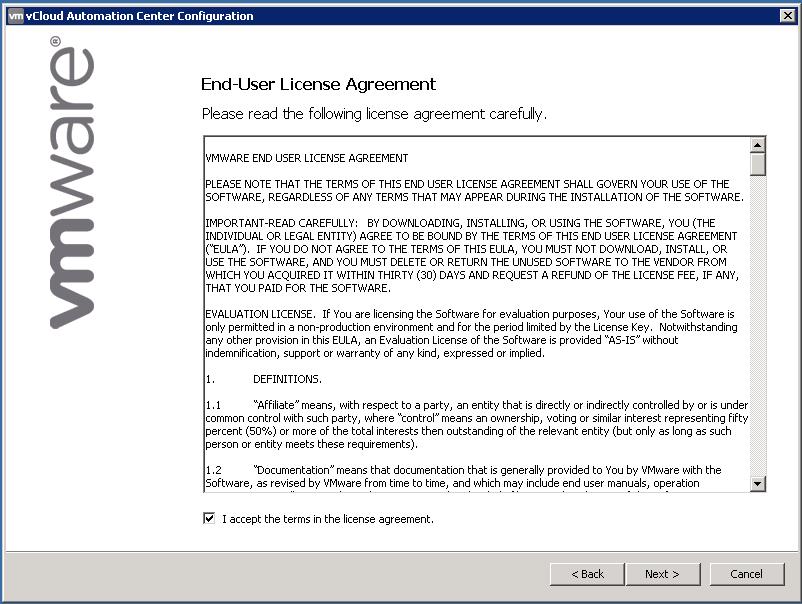
![vCAC-Iaas Installation -6]() Accept the End-User License agreement and click on Next.
Accept the End-User License agreement and click on Next.
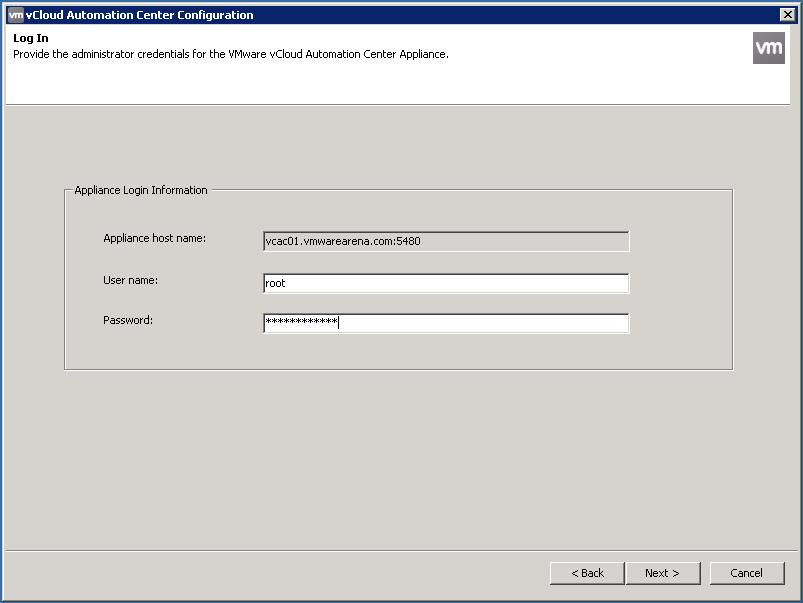
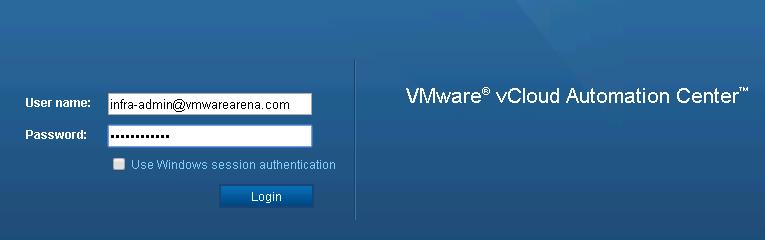
![vCAC-Iaas Installation -7]() Provide the administrative credentials for the VMware vCloud Automation Center Appliance and click on Next
Provide the administrative credentials for the VMware vCloud Automation Center Appliance and click on Next
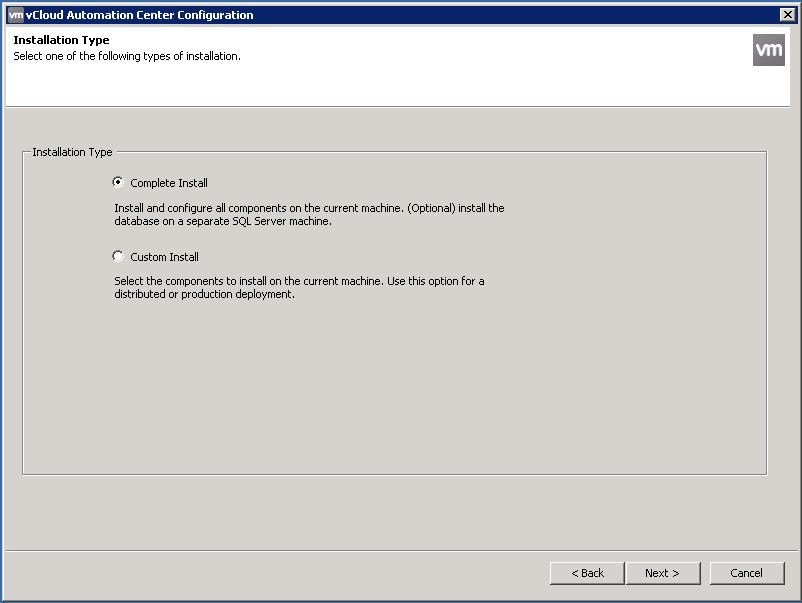
![vCAC-Iaas Installation -8]() I am going to choose Complete install. It installs all components on the current machine.Click on Next.
I am going to choose Complete install. It installs all components on the current machine.Click on Next.
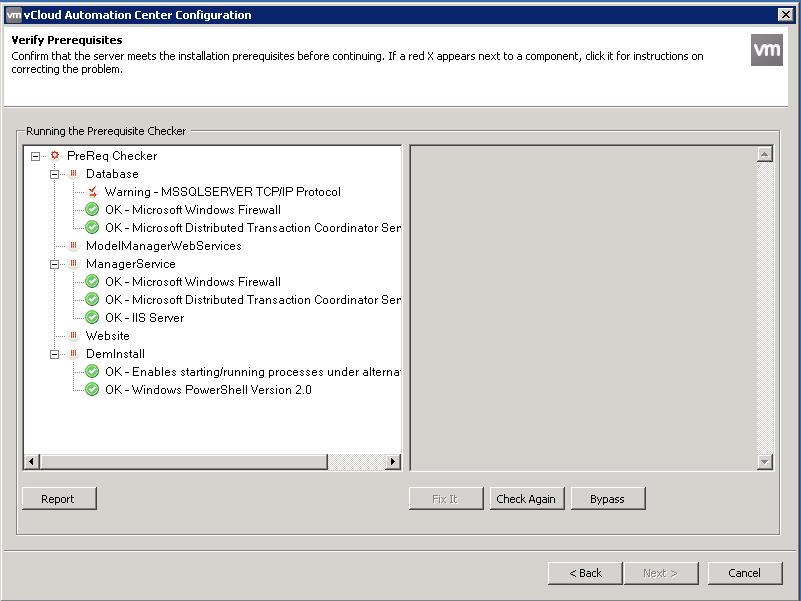
![vCAC-Iaas Installation -9]() Verify all are green. If any warning, Click Bypass. Then Click Next
Verify all are green. If any warning, Click Bypass. Then Click Next
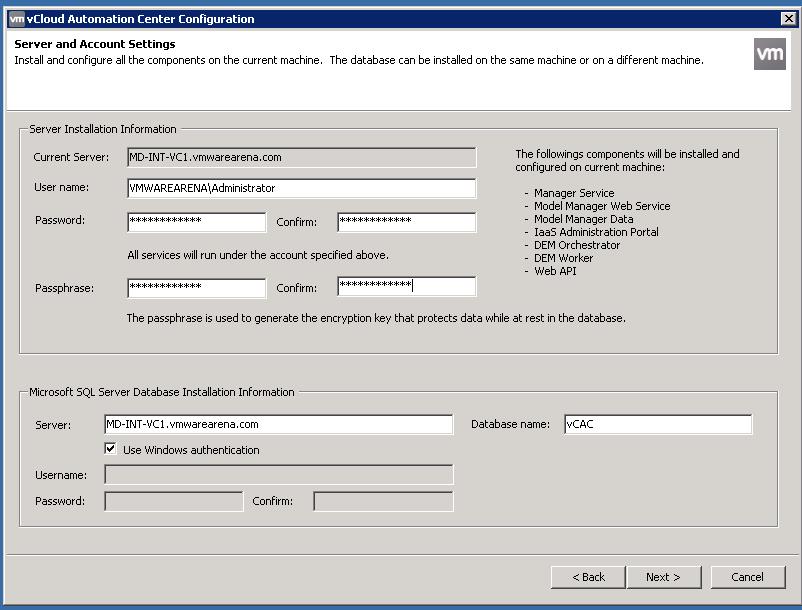
![vCAC-Iaas Installation -10]() The Server and account settings page needs a few different inputs:
The Server and account settings page needs a few different inputs:
1. Enter a User name and Password under Server Installation Information
2. Type a phrase in Passphrase. The passphrase is a series of words that generates the encryption key used to secure database data. You can use some standard password also for this.
3. No need to create a database on your server. Below step will create it for you.
Click on Next.
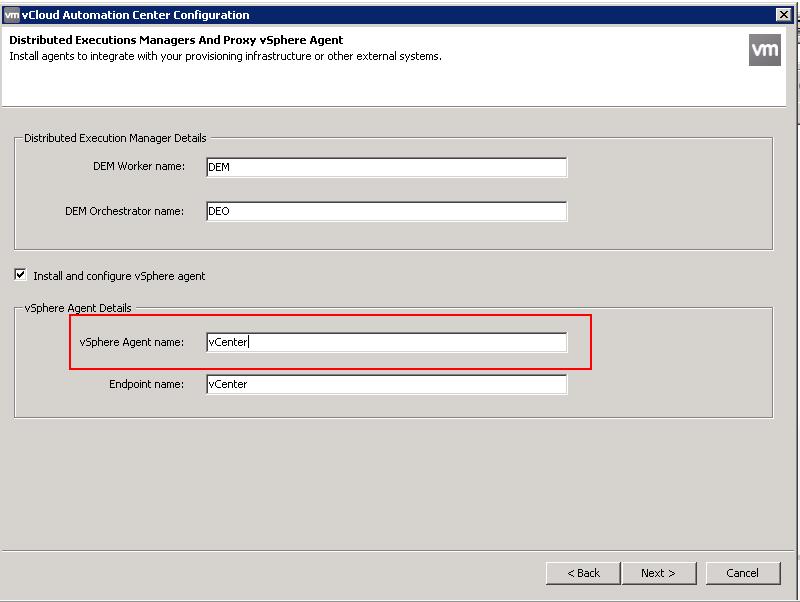
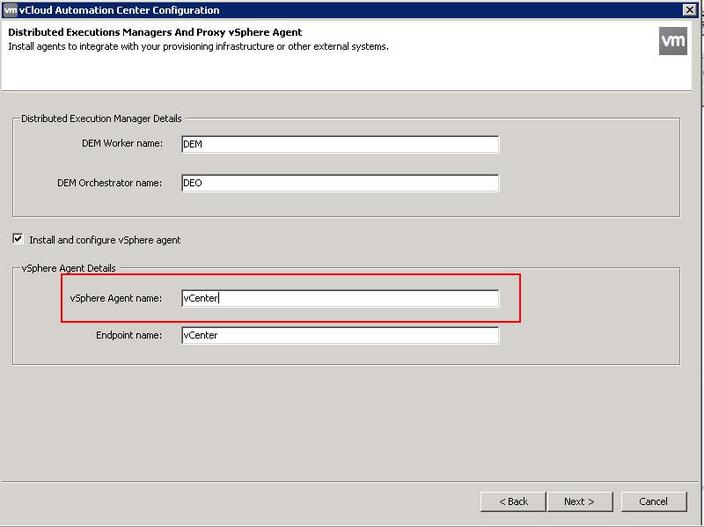
![vCAC-Iaas Installation -11]() You can choose to accept the defaults and click next or you can change the vSphere Agent name to your actual vCenter name. Since I have only one vCenter, I kept it as “vCenter”. Please note down this name and This name will be used again during the IaaS Configuration
You can choose to accept the defaults and click next or you can change the vSphere Agent name to your actual vCenter name. Since I have only one vCenter, I kept it as “vCenter”. Please note down this name and This name will be used again during the IaaS Configuration
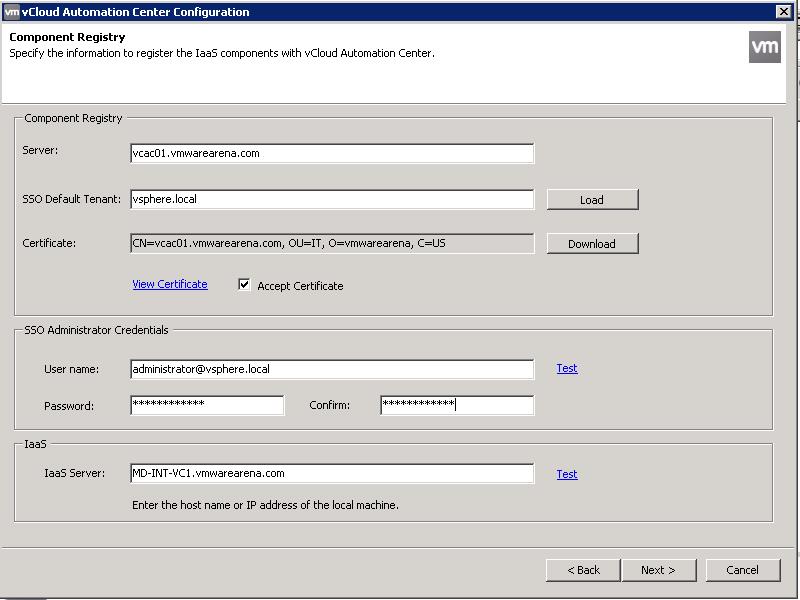
![vCAC-Iaas Installation -12]() Register the IaaS Components in Component Registry section:
Register the IaaS Components in Component Registry section:
1. Don’t change the Server name. Keep the default one.
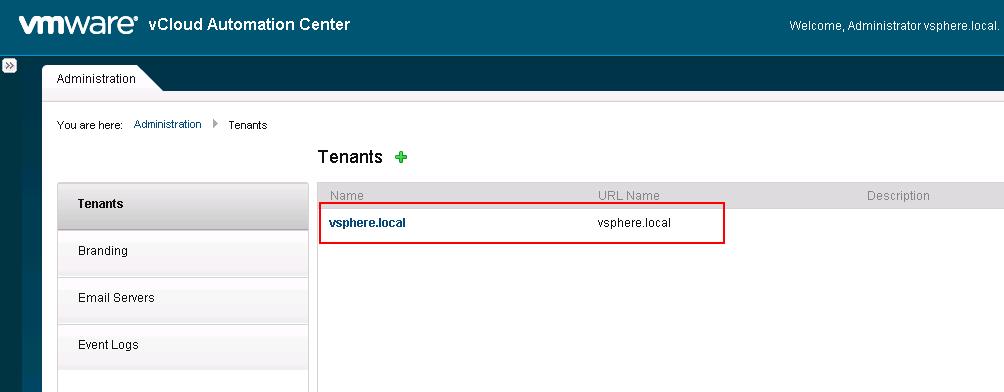
2. Click Load to populate the value of SSO Default Tenant (vsphere.local)
3. Click Download to retrieve the certificate from the vCloud Automation Center Appliance and Select the checkbox “Accept” to accept the certificate.
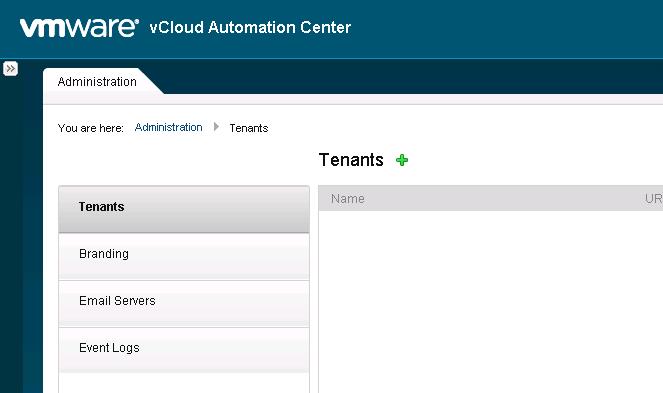
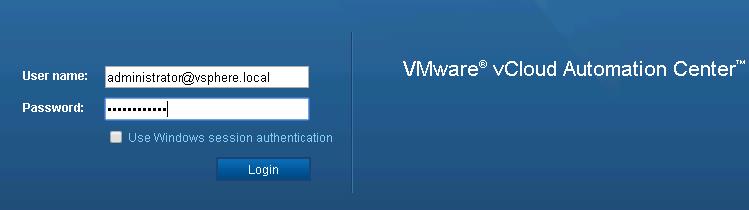
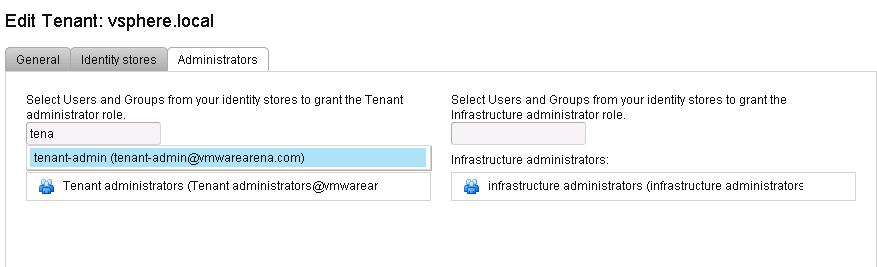
4. In the SSO Administrator panel, type administrator@vsphere.local in the User name and the password . This was configured during SSO configuration and accept the default of the IaaS server.
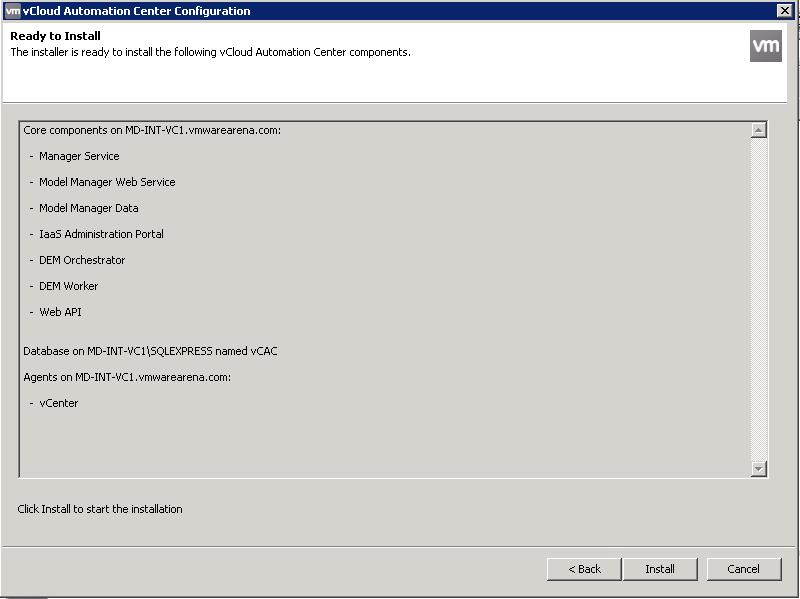
![vCAC-Iaas Installation -13]() Review the components which is going to install on this server and Click on Install.
Review the components which is going to install on this server and Click on Install.
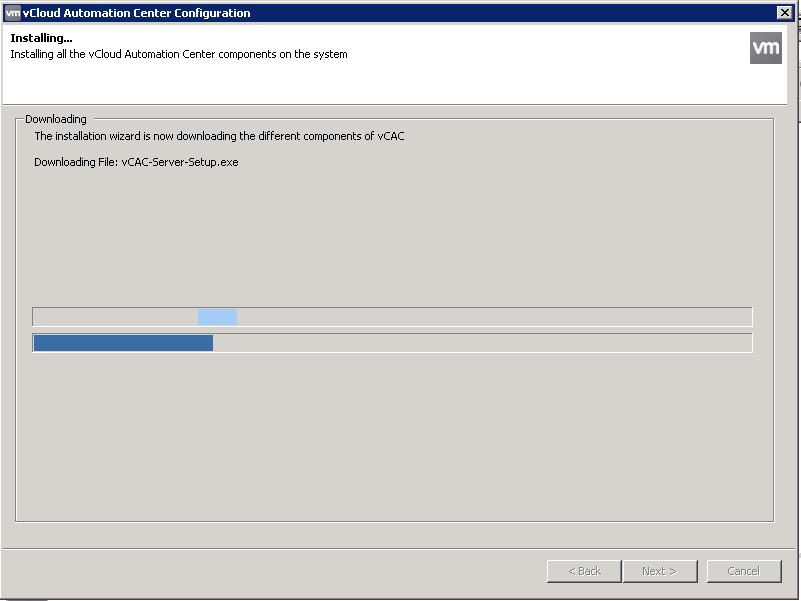
![vCAC-Iaas Installation -14]()
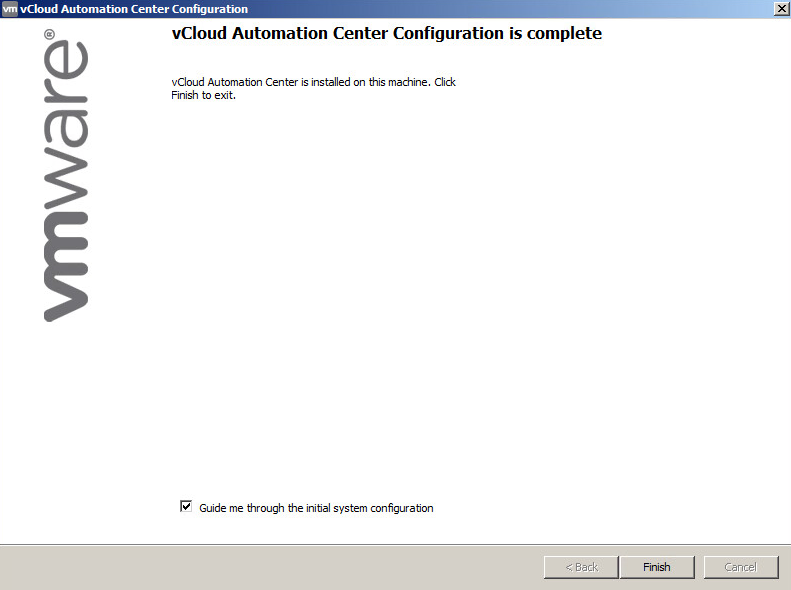
![vCAC-Iaas Installation -15]() Once Installation is completed, Click on Finish to complete the installation.
Once Installation is completed, Click on Finish to complete the installation.
![vCAC-Iaas Installation -16]() Once vCAC IaaS installation is completed, Verify that the following services were installed and started.
Once vCAC IaaS installation is completed, Verify that the following services were installed and started.
• VMware DEM-Orchestrator – DEO
• VMware DEM-Worker – DEM
• VMware vCloud Automation Center Agent – vSphereAgent
• VMware vCloud Automation Center Service
![vCAC-Iaas Installation -17]() That’s it. We are done with Iaas installation. I hope this is informative for you. Thanks for Reading !!!. Be social and share it in social media, if you feel worth sharing it.
That’s it. We are done with Iaas installation. I hope this is informative for you. Thanks for Reading !!!. Be social and share it in social media, if you feel worth sharing it.
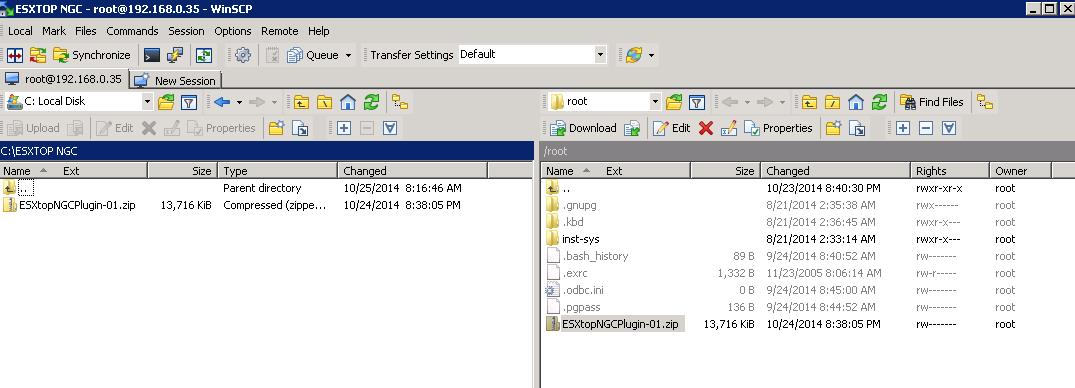
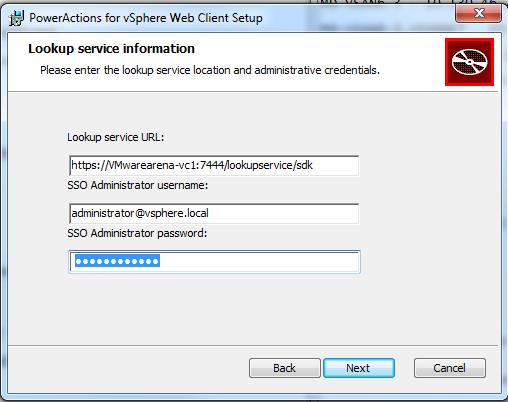
 On the below page, You will need to add the FQDN of the machine where you have installed PowerCLI and PowerActions software
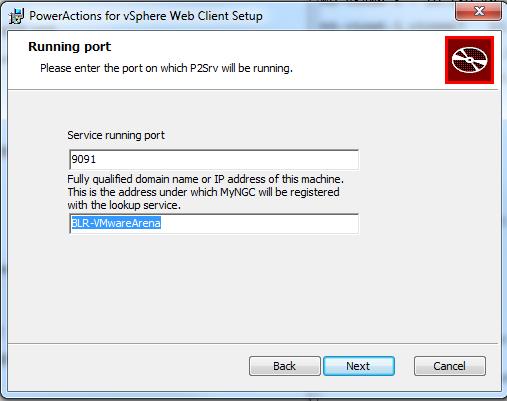
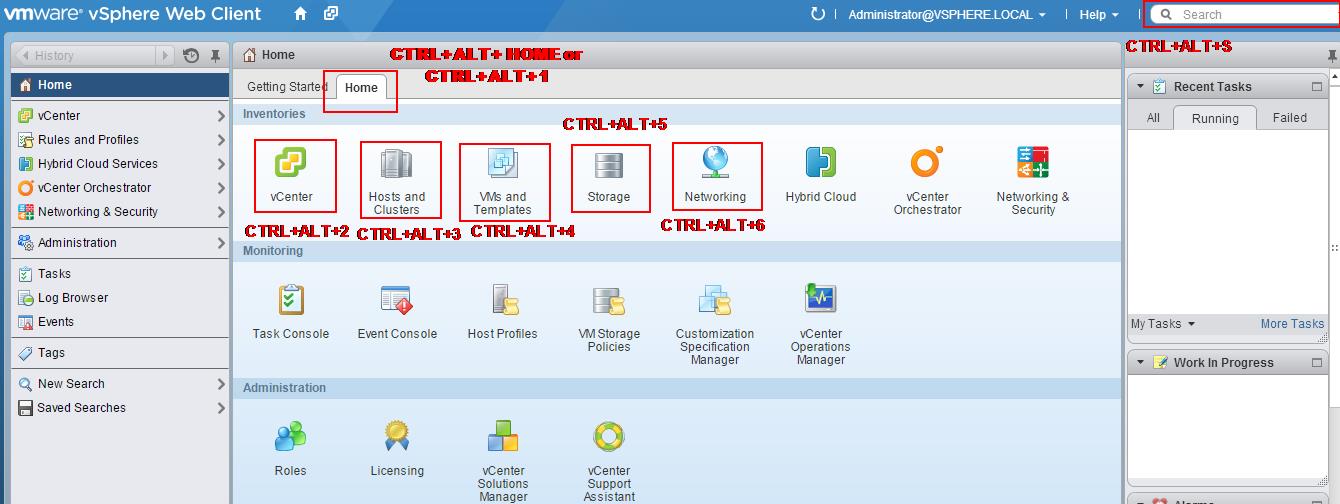
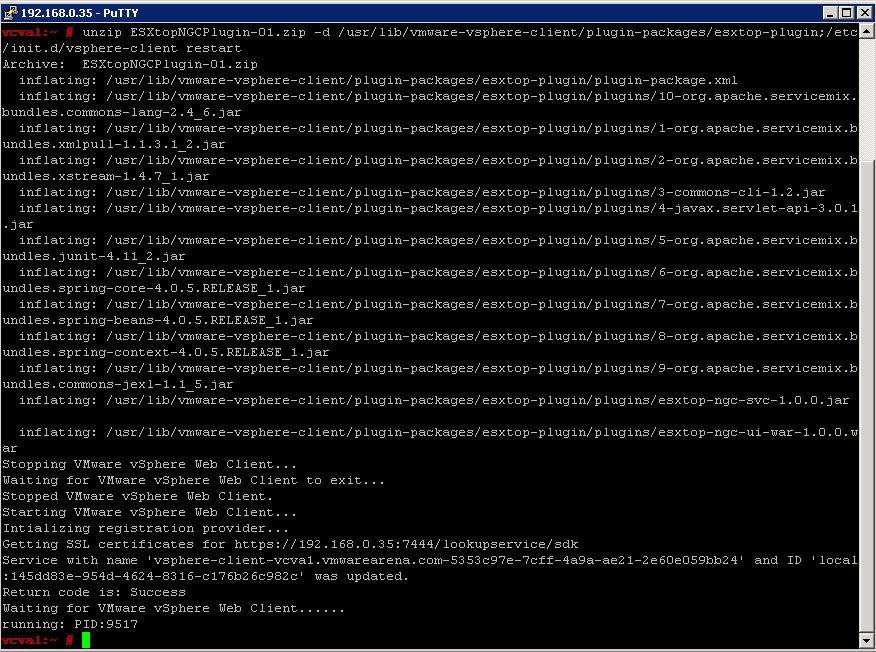
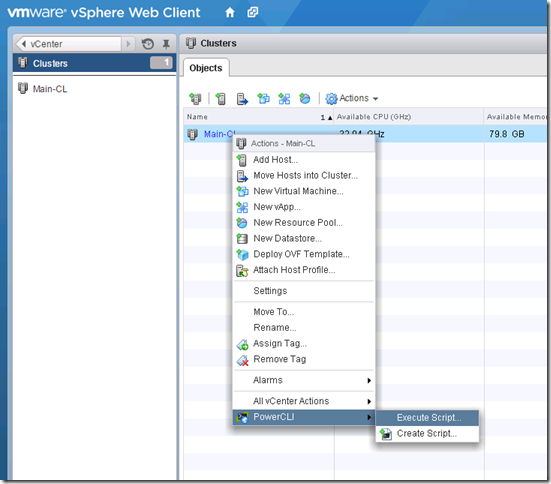
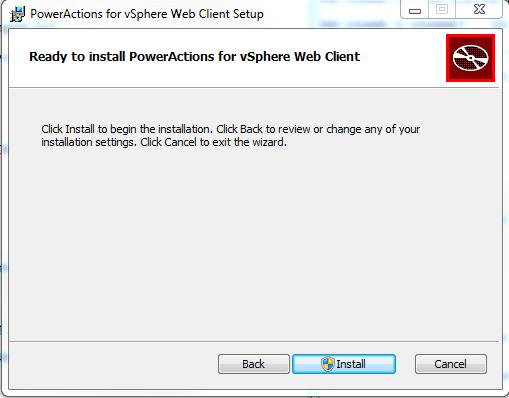 Once installed is completed, PowerActions for vSphere Web Client integrates as a plugin into a web based vSphere client.
 I hope PowerActions for vSphere Web Client will be very useful for all of us and this post is informative for you. Thanks for Reading!!!. Be Social and share it in social media, if you feel worth sharing it.